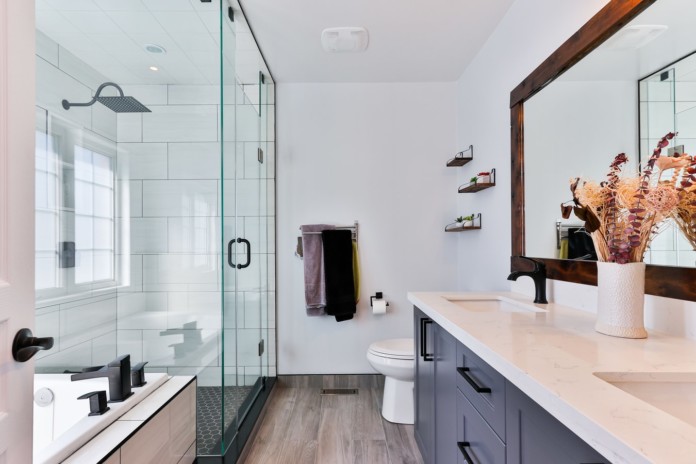
If you want to change the look of your house, we suggest a simple bathroom remodel. Whether you are tired of your old bathroom or simply want a new design, you can easily remodel your bathroom in one week or less. Here is everything you need to know about OC bathroom remodeling:
The Cost
Any remodeling project can cost a fortune if you do not plan it properly. A typical bathroom remodel can cost up to $15,000, and 20% of that cost is attributed to labor. If you wish to cut down on cost, you can take the DIY route and enjoy the process of remodeling your own bathroom.
Preparing for a DIY Bathroom Remodeling Project
Before you begin, you should know exactly what you want the end product to look like. Consider looking up some photos on Pinterest or Instagram that can help you envision the dream bathroom. A few design elements to consider include a new color scheme, changing the fixtures, and creating additional storage space in the bathroom.
What Tools Do I Need?
There are a few essential tools that any DIY bathroom remodeling project will require. Head down to your local hardware store and grab the following items:
- Safety mask, goggles, and gloves
- Caulking gun
- Hammer
- Spackle knife and spackle
- Power drill
- Silicone sealant
- Pry bar
- Chisel
- Hacksaw
- Chalk line
Bathroom Remodeling DIY Guide
Step 1: Remove Existing Bathroom Fixtures
Since you are remodeling your bathroom, it is important to remove any drywall and fixtures that need to be replaced. To avoid creating a mess during the gutting process, you should drain and remove your toilet first. Then, cover the tub and remove the bath tiles properly in order to create space for your new shower or tub. It is also important to remove any insulation, cabinets, mirrors, and floor tiles that you wish to replace.
Step 2: Install the New Tub or Shower
Once the demolition phase is complete, you can begin installing some new fixtures. Make sure that you have picked out a new shower or tub design beforehand that fits the space in your bathroom and aligns with the theme of your décor.
Step 3: Electrical Fixtures and Lighting
Once the shower area is finished, you can move on to configuring new electrical fixtures and adjusting the lighting in your bathroom. You have freedom with this step since you can easily adjust the wiring in your bathroom to create a more well-lit space.
Step 4: Install the Floor Tiles
The most important step of your bathroom remodeling project is to lay down some new floor tiles. Use the mason’s chalk to create reference lines on the floor to ensure that you are placing the tiles in a straight line.
Step 4: Drywall and Paint
While you will have to customize the drywall to fit around any wall features of your bathroom, installing new drywall and completing a paint job is essential for a complete bathroom renovation.
Step 5: New Vanity
Once the drywall has been installed and the new paint has dried, you can move on to installing any additional features you want in your new bathroom. Make sure that you install the vanity first, which means the sink and faucets. Fix the plumbing before you move on to aesthetic décor such as the mirror or new cabinets.


